

The DIRECTV Remote offers a seamless way to control your viewing experience, providing easy navigation, access to the on-screen guide, DVR functions, and customizable settings.
1.1. Overview of DIRECTV Remote Features
The DIRECTV Remote is designed to enhance your viewing experience with a wide range of features. It allows you to control both your DIRECTV receiver and TV with a single device, ensuring seamless navigation. Key features include the ability to access the on-screen guide, manage DVR recordings, and switch between channels effortlessly. The remote also includes volume and mute controls, making it convenient to adjust your TV’s audio settings. Additionally, it supports advanced functions like RF mode for extended range and customizable button settings. The backlit design ensures easy use in low-light environments, while the intuitive layout provides quick access to frequently used functions. This remote is built to simplify and enhance your entertainment experience.
1.2. Compatibility with DIRECTV Receivers and Devices
The DIRECTV Remote is compatible with various DIRECTV receivers and devices, ensuring a smooth and integrated control experience. It works seamlessly with HD DVR receivers, enabling users to record and manage content effortlessly. The remote is also designed to control other devices such as TVs, DVD players, and sound systems, making it a versatile tool for home entertainment. Compatibility extends to both satellite and internet-based DIRECTV services, ensuring universal functionality. By supporting multiple devices, the remote eliminates the need for multiple controllers, streamlining your setup. This compatibility ensures that users can enjoy a unified control system for all their entertainment needs, enhancing overall convenience and ease of use.
1.3. Importance of the User Manual
The user manual is an essential resource for maximizing the functionality of your DIRECTV Remote. It provides comprehensive guidance on programming, troubleshooting, and utilizing advanced features. By following the manual, users can efficiently pair the remote with their receiver, set up TV and AV device controls, and navigate the on-screen menu. The manual also offers step-by-step instructions for customizing settings and resolving common issues, ensuring a smooth user experience. Whether you’re a new user or seeking to optimize your setup, the manual serves as a valuable reference, helping you to unlock all the capabilities of your DIRECTV Remote and enhance your entertainment experience.
Unboxing and Hardware Overview
The DIRECTV Remote typically comes with the remote control, batteries, and a user manual. Its sleek design includes an ergonomic layout, backlit buttons, and essential navigation controls for ease of use.
2.1. What’s Included in the Box
Your DIRECTV Remote package typically includes the remote control, a set of batteries, and a user manual. The remote itself is pre-configured for ease of setup. Additional items like an RF adapter may be included for advanced connectivity. Ensure all components are accounted for before discarding packaging. The user manual provides step-by-step instructions for pairing and customization. For further assistance, visit the official DIRECTV support website. Always refer to the manual for troubleshooting tips and optimal performance. Properly installing the batteries and syncing the remote with your receiver are crucial first steps. Enjoy seamless control of your DIRECTV experience with this comprehensive setup.
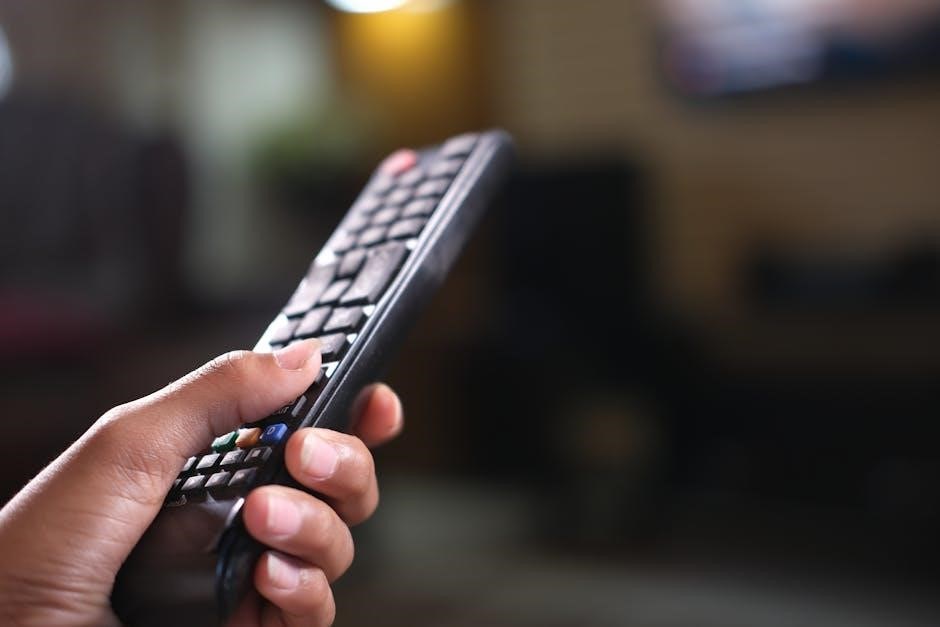
2.2. Physical Layout of the Remote Control
The DIRECTV Remote is designed with an ergonomic layout, featuring a sleek and intuitive button arrangement. The top section includes the power button and volume controls, while the middle houses navigation buttons like the D-pad and GUIDE key. Below, you’ll find the number pad for channel selection and additional function buttons for DVR and menu access. The remote also includes a backlit display on certain models for enhanced visibility. Buttons are logically grouped by function, making it easy to navigate without confusion. The remote’s compact size and lightweight design ensure comfort during extended use. Clear labels and symbols on each button help users quickly identify their purposes, streamlining the overall viewing experience.
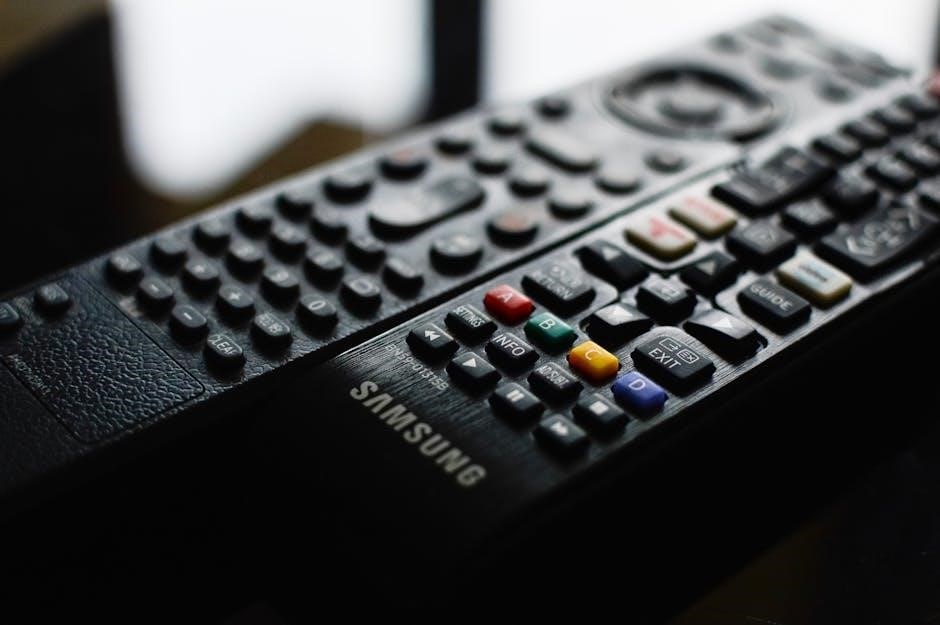
2.3. Key Components and Buttons
The DIRECTV Remote features essential buttons for seamless control. The GUIDE button provides access to the on-screen channel guide, while the DVR button allows quick access to recorded content. The MUTE button silences the audio, and the SELECT button confirms choices. Navigation buttons like UP, DOWN, LEFT, and RIGHT enable easy scrolling. The BACK button returns to the previous screen, and the INFO button displays program details. Additional buttons like RECORD and PLAY manage DVR functions. Some remotes include a VOICE button for voice commands. The remote also has a POWER button to turn devices on/off and a VOLUME rocker for audio control. These buttons ensure intuitive operation of your DIRECTV system and connected devices.
Programming the DIRECTV Remote
Programming the DIRECTV Remote involves pairing it with your receiver and other devices. Use the on-screen guide to set up control for your TV, AV devices, and DVR.
3.1. Pairing the Remote with Your DIRECTV Receiver
To pair the remote with your DIRECTV Receiver, press and hold the MUTE and SELECT buttons simultaneously until the green light flashes twice. This indicates successful pairing. Ensure the remote is within line of sight and the receiver is powered on. Follow on-screen instructions to complete setup. Pairing establishes RF communication, enabling control without direct line of sight. This process is essential for optimal functionality. For additional guidance, refer to the DIRECTV Remote Guide.
3.2. Setting Up the Remote to Control Your TV
To set up your DIRECTV Remote for TV control, turn on your TV and locate its 5-digit code. Press and hold MUTE and SELECT until the green light flashes. Enter the code using the number pad. If the TV turns off, the code is correct. The remote is now programmed to control your TV. Ensure the remote is in IR mode for TV control. For troubleshooting, repeat the process with a different code if necessary. This setup allows seamless control of both your TV and DIRECTV Receiver with one remote. Refer to the DIRECTV Remote Guide for additional details and troubleshooting tips.
3.3. Programming the Remote for AV Devices
Program your DIRECTV Remote to control AV devices like VCR, DVD, or stereo. Press and hold MUTE and SELECT until the green light flashes. Enter the device’s 5-digit code using the number pad. If the device turns off, the code is correct. Use the AV1 or AV2 buttons to switch control between devices. For setup, refer to the on-screen guide or user manual. Some devices may require specific codes or additional steps. Ensure the remote is in IR mode and point it directly at the device during setup. This feature allows seamless control of your home entertainment system from one remote. Consult the user manual for a full list of compatible codes and troubleshooting tips.
Navigating the DIRECTV Menu
Access the on-screen guide using the GUIDE button to browse channels, view program details, and schedule recordings. Navigate easily with arrow keys and confirm selections with SELECT.
4.1. Accessing the On-Screen Guide
To access the on-screen guide, press the GUIDE button on your DIRECTV remote. This will display a comprehensive menu showing channel listings, program details, and DVR options. Use the arrow keys to navigate through channels and programs. The guide provides a grid view of current and upcoming shows, allowing you to scroll by time or channel. You can also filter listings by genre or search for specific programs. Press the SELECT button to view detailed program information or set recordings. The guide is customizable, enabling you to hide unused channels or prioritize favorites for quicker access. This feature simplifies browsing and enhances your viewing experience.
4.2. Browsing Channels and Programs
Browsing channels and programs on your DIRECTV remote is straightforward. Use the arrow keys to scroll through the channel listings in the on-screen guide. Press UP or DOWN to navigate through channels, and LEFT or RIGHT to scroll through time. The guide displays a grid view of current and upcoming programs, with detailed information like show titles, start times, and descriptions. You can also filter listings by genre or search for specific programs. Press SELECT to view more details about a program or set a reminder. This feature allows you to explore content effortlessly and plan your viewing schedule with ease, enhancing your overall entertainment experience.
4.3. Using the Navigation Buttons
The navigation buttons on your DIRECTV remote are essential for moving through menus and options. Use the UP and DOWN arrows to scroll through lists, while the LEFT and RIGHT arrows help navigate horizontally. The SELECT button confirms your choice, whether it’s selecting a channel or adjusting settings. These buttons provide intuitive control, making it easy to explore and customize your viewing experience. By using the navigation buttons, you can efficiently access features like the on-screen guide, DVR recordings, and settings without hassle. This streamlined design ensures seamless interaction with your DIRECTV system, allowing you to focus on enjoying your content.
Basic Remote Functions
The DIRECTV remote offers essential functions like power control, volume adjustment, and channel navigation, ensuring a smooth and user-friendly experience for all your entertainment needs.
5.1. Power Button (ON/OFF)
The Power button on your DIRECTV remote allows you to turn your DIRECTV receiver and TV on or off simultaneously; This feature is convenient for managing your viewing experience with a single press.
5.2. Volume and Mute Controls
The Volume and Mute buttons on your DIRECTV remote allow you to adjust the audio levels or silence the sound entirely. The Volume Up and Down buttons enable precise control over the audio output, while the Mute button temporarily disables the sound. These controls are programmed to work with both your DIRECTV receiver and TV, ensuring a seamless experience. To use these features, ensure the remote is properly paired with your devices. If the volume doesn’t respond, check the remote’s battery levels or ensure it’s correctly programmed for your TV. The Mute function is ideal for quickly silencing the audio without adjusting the volume level. This feature enhances your viewing experience by providing quick access to audio management.
5.3. Channel Navigation (UP/DOWN)
The Channel Navigation buttons (UP/DOWN) on your DIRECTV remote allow you to scroll through channels effortlessly. Pressing the UP button moves to the next higher channel number, while the DOWN button moves to the next lower channel. These buttons also function within the on-screen guide, enabling you to browse through program listings. When viewing live TV, the buttons provide quick access to channel surfing. The GUIDE button can be used in conjunction with these controls to filter or sort channels. Properly programming the remote ensures smooth navigation between channels and devices. If channels don’t change, check the remote’s batteries or ensure it’s paired correctly with your receiver. This feature simplifies channel browsing, enhancing your overall viewing experience.
Advanced Features of the DIRECTV Remote
The DIRECTV remote offers advanced features such as GUIDE for browsing channels, DVR access, and RF mode for enhanced control, providing a comprehensive viewing experience.
6.1. Using the GUIDE Button
The GUIDE button is a central feature of the DIRECTV remote, enabling quick access to the on-screen guide. This guide displays a comprehensive list of channels, programs, and showtimes. By pressing GUIDE, users can easily navigate through available content, set reminders, and select programs to watch or record. The guide also allows users to filter channels, view program details, and access additional features such as parental controls. This functionality enhances the viewing experience by simplifying content discovery and management. The GUIDE button is essential for efficiently exploring and managing DIRECTV’s extensive channel lineup and program offerings.
6.2. Accessing DVR and Recorded Content
To access DVR and recorded content, press the DVR button or navigate to the Menu and select Recordings. This will display a list of recorded programs, allowing you to browse, select, and play content. Use the arrow keys to scroll through the list and press SELECT to view details or play the program. You can also sort recordings by date, title, or genre for easier navigation. Additionally, the LIST button provides quick access to your recorded content. The DVR menu also offers options to delete, protect, or manage recordings, ensuring efficient media management and enhanced viewing convenience. This feature is essential for organizing and enjoying your recorded shows and movies seamlessly.
6.3. Enabling RF Mode
To enable RF Mode on your DIRECTV Remote, press and hold the MUTE and SELECT buttons simultaneously until the green light at the top of the remote flashes. This indicates that RF Mode is activated, allowing the remote to control your DIRECTV Receiver without requiring a direct line of sight. Once enabled, the remote uses radio frequency to communicate with the receiver, providing greater flexibility in controlling your device from any location within range. This feature is particularly useful for installations where the receiver is not visible, such as in a cabinet or another room. Refer to the user manual for additional details on optimizing RF performance and troubleshooting connectivity issues.
Customizing Your Remote
Customize your DIRECTV Remote by setting up favorite channels, adjusting button functions, and personalizing settings to enhance your viewing experience and tailor it to your preferences.
7.1. Setting Up Favorite Channels
Setting up favorite channels on your DIRECTV Remote allows quick access to your most-watched channels. To do this, press the GUIDE button to access the on-screen guide. Navigate to your desired channel, press SELECT, and choose “Add to Favorites.” Repeat for all preferred channels. Once added, use the FAV button to directly view your favorites list. You can also organize favorites by category or order for easier browsing. This feature enhances your viewing experience by simplifying channel navigation and saving time. Ensure your remote is properly programmed to access this functionality. Refer to the manual for detailed steps if needed.
7.2. Customizing Button Functions
Customizing button functions on your DIRECTV Remote allows you to personalize your viewing experience. To reassign buttons, access the on-screen menu by pressing MENU, then navigate to Settings & Help > Remote Control > Customize Buttons. Select the button you wish to reassign and choose from a list of available functions. For example, you can set the GUIDE button to access your favorites or the BACK button to control external devices. Some remotes also allow creating shortcuts for frequently used commands. Ensure your remote is updated to the latest software for optimal customization options. Refer to the manual for detailed instructions on advanced customization features. This feature enhances convenience and tailored control over your entertainment system.
7.3. Adjusting Remote Settings
Adjusting remote settings allows you to tailor your DIRECTV Remote to your preferences. Access the settings menu by pressing MENU, then selecting Settings & Help > Remote Control. Here, you can enable or disable features like RF mode, which allows the remote to work without line-of-sight to the receiver. You can also adjust the backlight timing and volume control settings. To reset the remote to factory defaults, go to Settings & Help > Remote Control > Reset Remote. For optimal performance, ensure your remote is updated to the latest software version. Refer to the manual for detailed instructions on advanced settings customization. Adjusting these settings ensures a personalized and efficient user experience. Always save your preferences to maintain your customized configurations.

Troubleshooting Common Issues
Troubleshoot common issues like unresponsive remotes, pairing problems, or battery drain. Check battery connections, ensure proper pairing, and restart devices. Refer to the manual for detailed solutions.
8.1. Remote Not Responding
If your DIRECTV remote isn’t responding, start by checking the batteries. Ensure they are properly inserted and not drained. Replace them if necessary. Next, verify that the remote is paired correctly with your receiver. Press and hold the MUTE and SELECT buttons simultaneously until the green light flashes. If issues persist, restart your receiver by unplugging it, waiting 30 seconds, and plugging it back in. Ensure no obstacles block the IR sensor on the receiver. For advanced troubleshooting, reset the remote by pressing RESET on the back, and re-pair it. If problems continue, contact DIRECTV support for assistance.
8.2. Pairing Issues
If you encounter pairing issues with your DIRECTV remote, ensure the receiver is powered on and in IR mode (not RF). Press and hold the MUTE and SELECT buttons until the green light flashes twice. This initiates pairing mode. If pairing fails, check for physical obstructions between the remote and receiver. Verify that the correct TV code is entered during setup. Reset the remote by pressing the RESET button on the back, then re-pair it. If issues persist, restart the receiver by unplugging it, waiting 30 seconds, and plugging it back in. Ensure no other devices are interfering with the IR signal. For further assistance, visit DIRECTV support.
8.3. Battery and Power Problems
If your DIRECTV remote experiences battery or power issues, start by replacing the batteries with new ones, ensuring correct polarity. Clean the battery contacts with a soft cloth to remove corrosion. If the remote still doesn’t function, try resetting it by pressing the RESET button on the back. For recharging issues with rechargeable remotes, check the charging dock’s connection to power. Verify that the remote is properly aligned on the dock. If problems persist, contact DIRECTV customer service for assistance or replacement options. Ensure all power-saving features are disabled to maintain connectivity. Regularly updating the remote’s software can also resolve power-related issues.
Maintaining Your Remote
- Clean the remote regularly with a soft cloth to prevent dirt buildup.
- Replace batteries promptly when power is low to ensure optimal performance.
- Update the remote’s software periodically for improved functionality and compatibility.
9.1. Cleaning the Remote
Regular cleaning ensures your DIRECTV Remote functions properly. Use a soft, dry cloth to wipe down the remote, paying attention to buttons and surfaces. Avoid harsh chemicals or liquids, as they may damage the keypad or harm the internal components. For stubborn dirt or grime, lightly dampen the cloth with water, but ensure no moisture seeps into the remote. Avoid cleaning products containing ammonia or alcohol. Gently scrub buttons to remove residue. Dry the remote thoroughly with a clean cloth. Regular cleaning prevents dirt buildup and ensures consistent performance. This simple maintenance step helps extend the life of your remote and maintains its responsiveness.
9.2. Replacing Batteries
To replace the batteries in your DIRECTV remote, first, locate the battery compartment on the back. Open it by sliding the cover downwards. Remove the old batteries, noting their orientation for correct installation. Insert the new batteries, ensuring the positive and negative terminals align properly. Close the compartment securely. If the remote doesn’t function after replacement, check the battery alignment or reset the remote by removing the batteries for 10 seconds and reinstalling them. Use alkaline batteries for optimal performance. Regular replacement ensures consistent functionality and responsiveness of your remote control.
9.3. Updating Remote Software
To update your DIRECTV remote software, access the on-screen menu by pressing the GUIDE button. Navigate to Settings & Help, then Settings, and select Remote Control. Choose Update Remote Software and follow the prompts. Ensure the remote remains pointed at the receiver during the update. Once the update completes, restart the remote by removing the batteries for 10 seconds and reinstalling them. If issues persist, reset the remote by pressing MUTE and SELECT simultaneously until the green light flashes twice. Regular software updates ensure compatibility and optimal performance. Visit directv.com/support for additional assistance.

Additional Resources
For further assistance, visit directv.com/support to download the full user manual, access online support, or contact DIRECTV customer service for personalized help.
10.1. Downloading the Full User Manual
To download the full user manual for your DIRECTV remote, visit the official DIRECTV website at directv.com/support. Navigate to the “Support” section and select “Manuals & Guides.” Enter your remote model number or product name, and download the PDF version. This comprehensive guide includes detailed instructions for programming, troubleshooting, and customizing your remote. Ensure you have Adobe Acrobat Reader installed to view the document. For specific models like the RC32BB or RC32RF, additional resources are available. Refer to the manual for step-by-step instructions on pairing, button functions, and advanced features.
10.2. Accessing Online Support
For additional assistance, visit the official DIRECTV support website at directv.com/support. This resource offers a wealth of information, including troubleshooting guides, FAQs, and step-by-step instructions for remote setup. You can also access live chat support for immediate help with programming or technical issues. The website features a comprehensive knowledge base where you can find answers to common questions about your DIRECTV remote and receiver. Additionally, DIRECTV provides a community forum where users can share tips and solutions. For direct assistance, use the “Contact Us” option to reach customer service representatives.
10.3. Contacting DIRECTV Customer Service
To reach DIRECTV customer service, call 1-800-DIRECTV (1-800-347-3288) for assistance with remote setup, troubleshooting, or general inquiries. Representatives are available 24/7 to help resolve issues. You can also visit the DIRECTV website at directv.com/contact to find additional contact options, including live chat and email support. For billing or account-related questions, log in to your account on the DIRECTV website and navigate to the support section. Ensure you have your account information ready for a smoother experience. DIRECTV customer service is dedicated to providing timely and effective solutions to enhance your viewing experience.